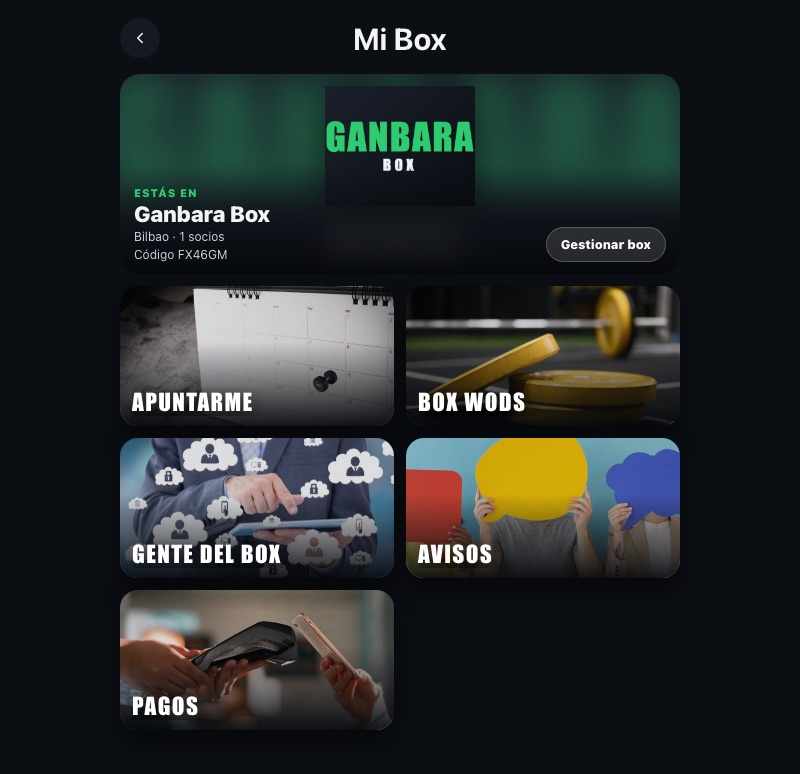
When you register your box, CrossManiacs walks you through a five-step wizard: Identity, Calendar, Tariffs, Payments and Import members. You can leave at any time: the wizard picks up from My box at the step where you left it.
Box documentation
Wizard
Before you start
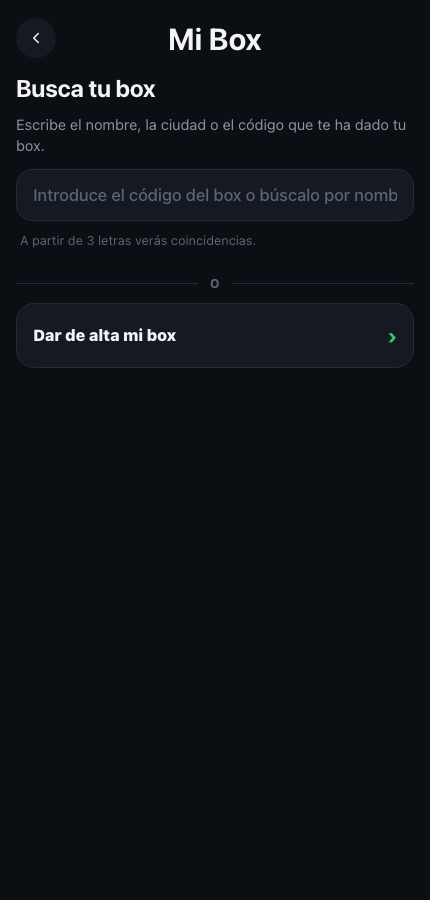
- Open My box. If you do not belong to any box yet, you will see the search field and, below it, the "Register my box" button.
- Have the box logo and its address ready. If you are going to charge through the app, also prepare the tax details, the IBAN and, if you take card payments, the POS details your bank gave you.
Step 1 · Identity
This is the only step you must complete to create the box. When you press "Next" the box exists and has its code.
Box logo
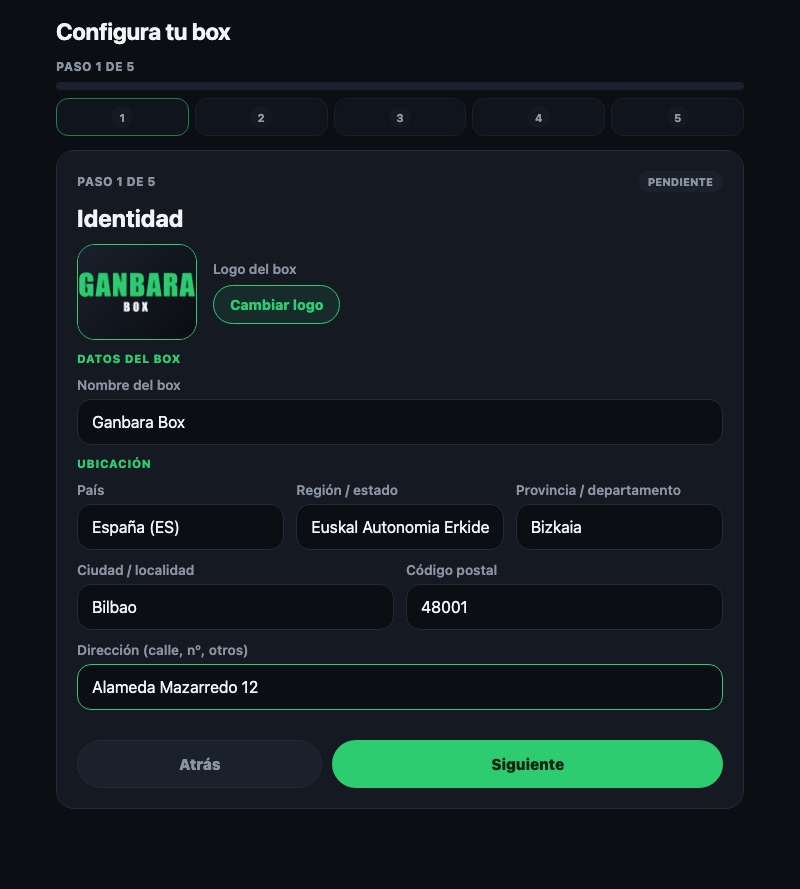
Press "Upload logo" and pick an image. A crop opens with the same proportion as the My box card: drag to frame, zoom with the slider and press "Use". Until there is a logo, the initials of the name are shown.
Box name
The name members will find you by, and the one printed on invoices unless you set a different fiscal name.
Country, region and province
Three searchable lists: type to filter and tap the option. The first suggestion carries the "Your location" mark with the detected country. Region unlocks after choosing a country, and province after choosing a region.
City, postal code and address
The city offers suggestions as you type. The address is the box address, the one members see and the one proposed later as the fiscal address.
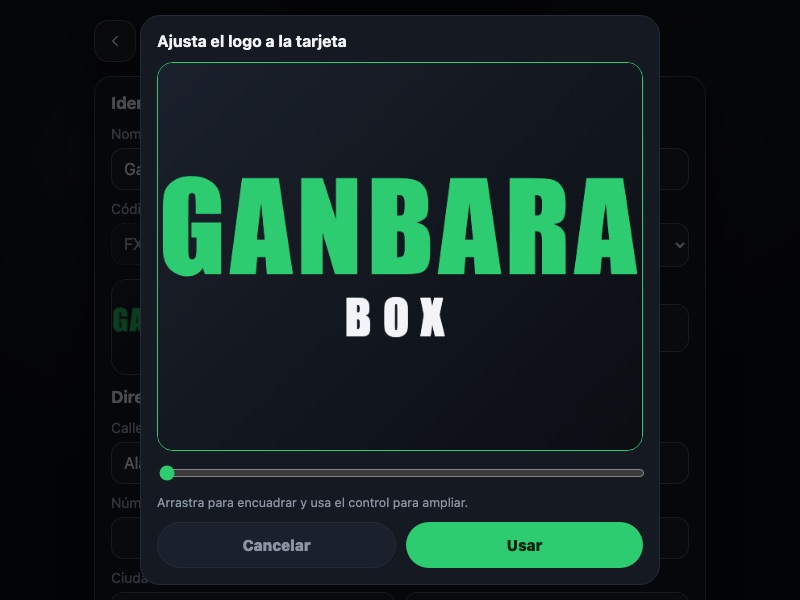
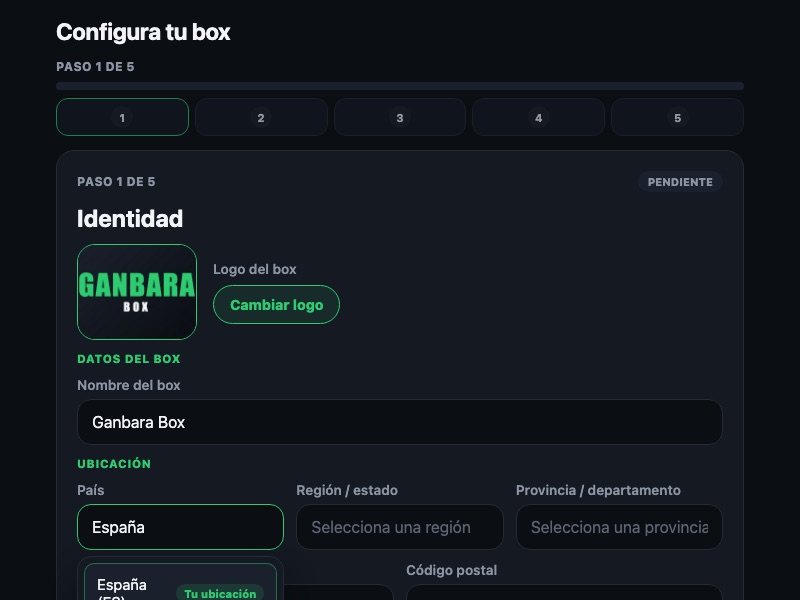
The province decides the certified invoicing system: Gipuzkoa, Bizkaia and Araba invoice with TicketBAI (Batuz in Bizkaia) and the rest of Spain with VERI*FACTU. The time zone is taken from your device.
How the wizard works
Once the box is created, at the top you see the five steps and the progress bar. From step 2 on, each step has its card with "Configure", which opens the matching management screen, and the "Back" and "Next" buttons. The last step ends with "Finish".
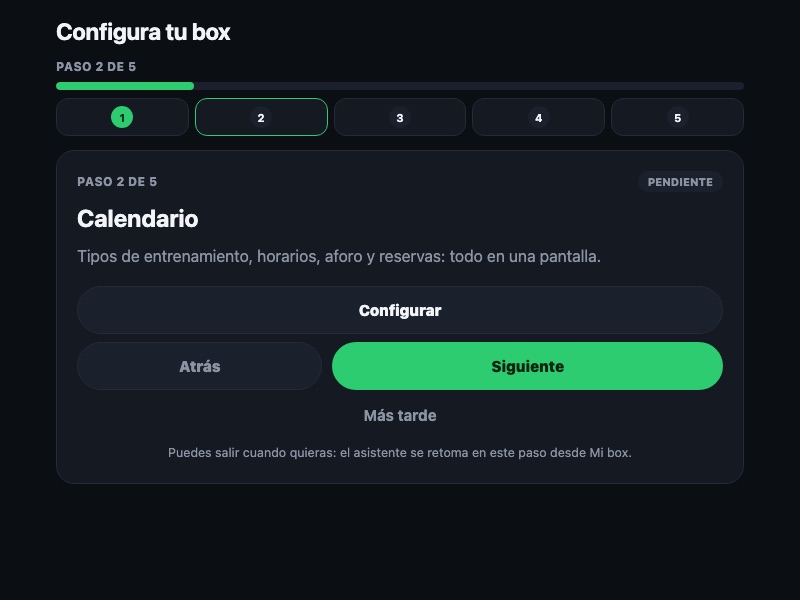
A step shows as "Configured" as soon as there is saved data; until then it is "Pending". "Later" skips to the next step without configuring it. Once the box is created, the numbers at the top take you to any step.
Step 2 · Calendar
"Configure" opens the Calendar screen, with four blocks: Training types, Schedules, Capacity and Bookings. Everything saves itself as you change it; there is no save button.
Training types
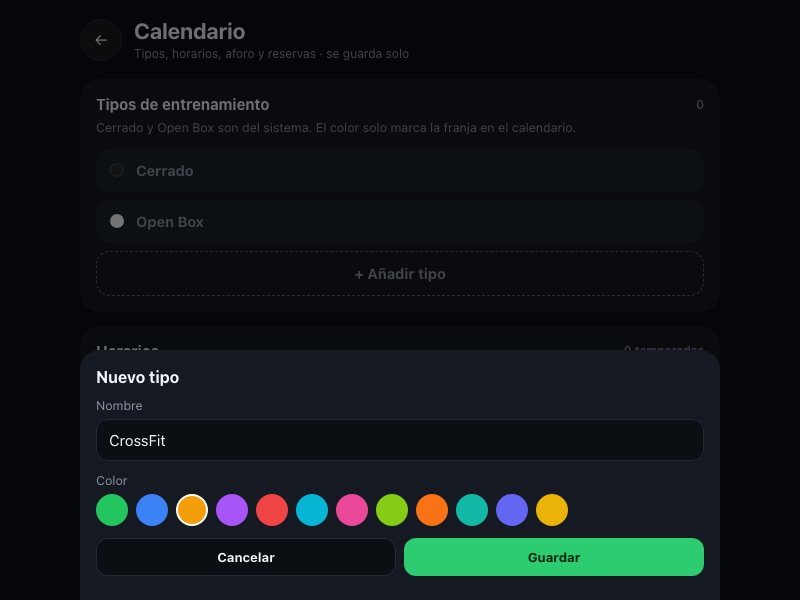
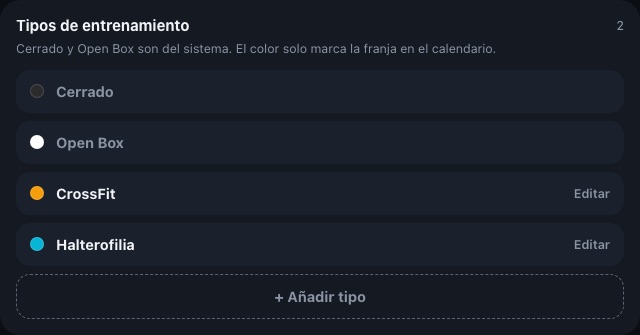
"Closed" and "Open Box" come built in. With "+ Add type" you create your own: a name (CrossFit, Weightlifting, Endurance…) and a colour. The colour is what the slot will show in the calendar. Tap an existing type to edit or delete it.
Schedules
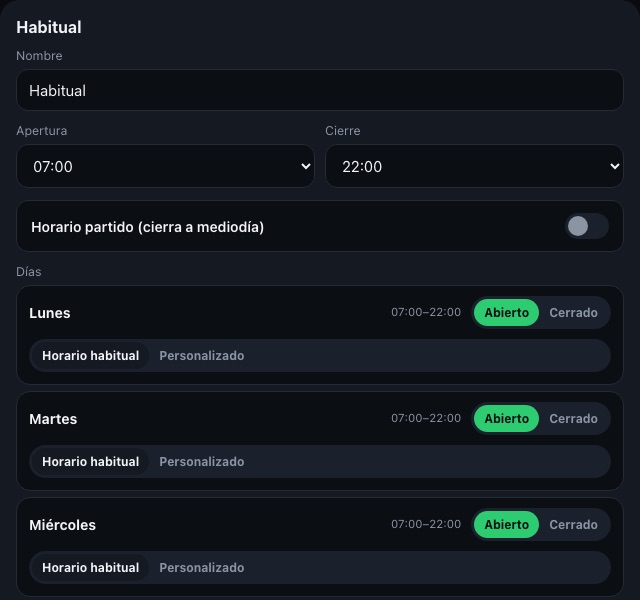
First the regular schedule: "+ Add schedule" opens a sheet with the name, the opening and closing time, and the "Split schedule" switch for boxes that close at midday (you set when you close and when you reopen). Below, each weekday can be "Open" or "Closed" and follow the regular hours or have "Custom" hours of its own.
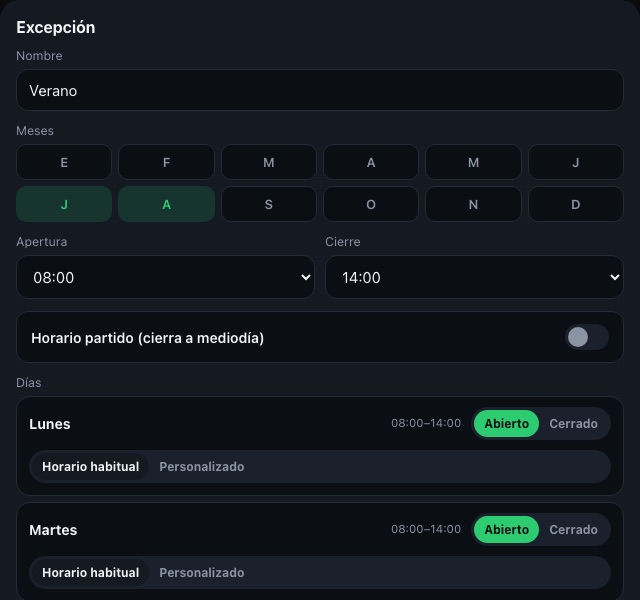
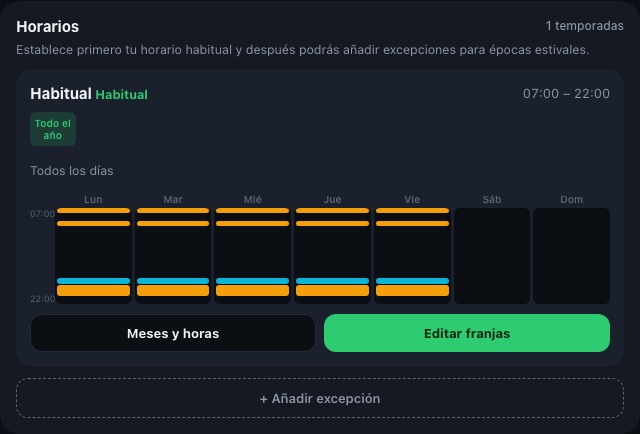
Once the regular schedule exists, "+ Add exception" appears: it is for seasons such as summer. Give it a name, mark the months it applies to and its hours. During those months it replaces the regular schedule.
Slots
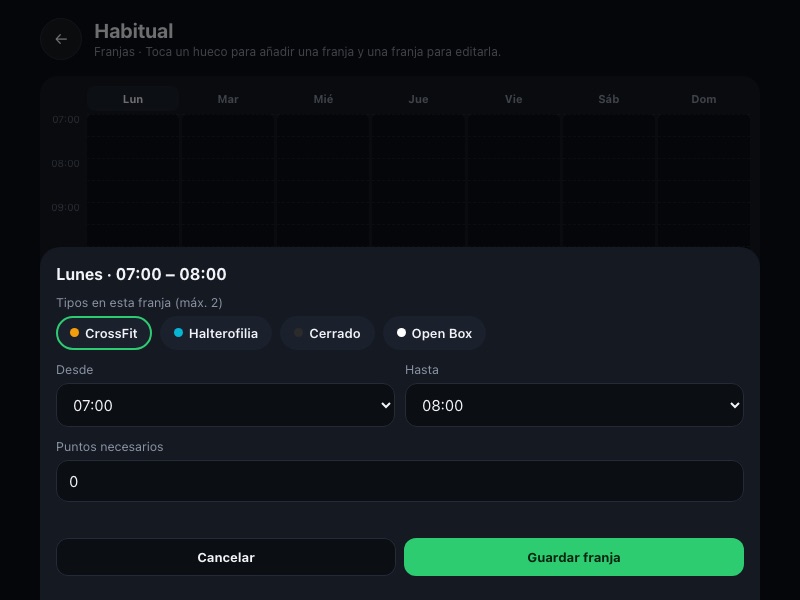
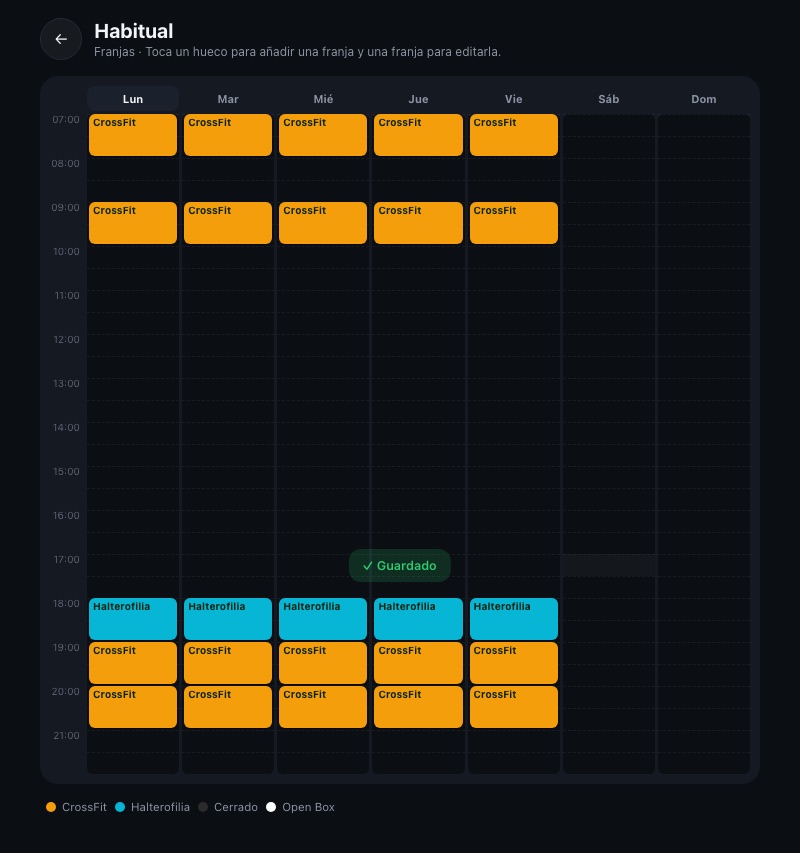
"Edit slots" opens that schedule's week. Tap a gap to create a slot: choose the training type or types (at most two in the same slot), the start and end time, and the points required. Points let you reserve slots for members with a minimum of points; leave them at 0 so anyone can book. Tap an existing slot to edit or delete it.
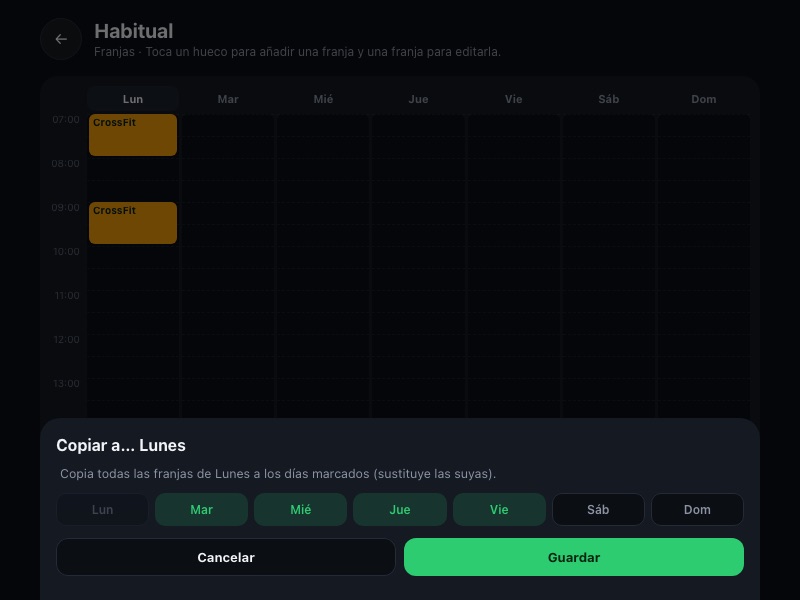
To avoid repeating the work day by day, tap the day name in the header: "Copy to…" copies all its slots to the days you mark, replacing the ones they had.
Capacity
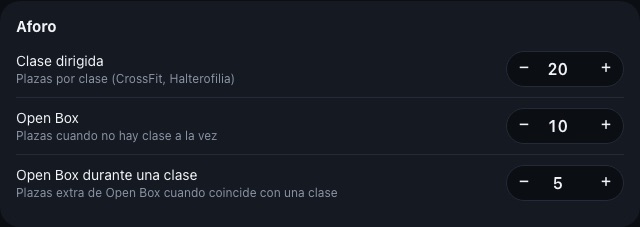
Coached class
Places per class for the types you created.
Open Box
Open Box places when it does not overlap with any class.
Open Box during a class
Extra Open Box places when it overlaps with a coached class.
Bookings
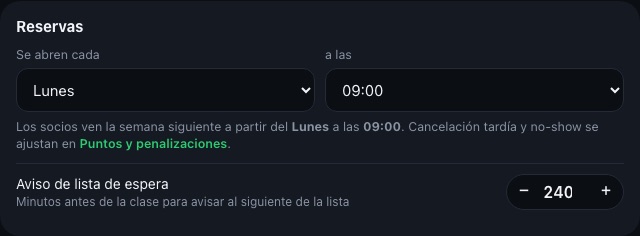
"Open every" and "at" set the moment when members see the following week and can book. The "Waitlist notice" is the number of minutes before the class in which, if a place frees up, the next person on the list is notified.
Penalties for late cancellation or no-show are set in "Points and penalties". "See the calendar as a member sees it" lets you check the result.
The Calendar step shows as "Configured" once there is at least one training type and one slot.
Step 3 · Tariffs
"Configure" opens Box tariffs. The first card, "Trial tariff", is generated by the system: it is the one members get when they come to try. You can change its number of classes and its price, but not delete it.
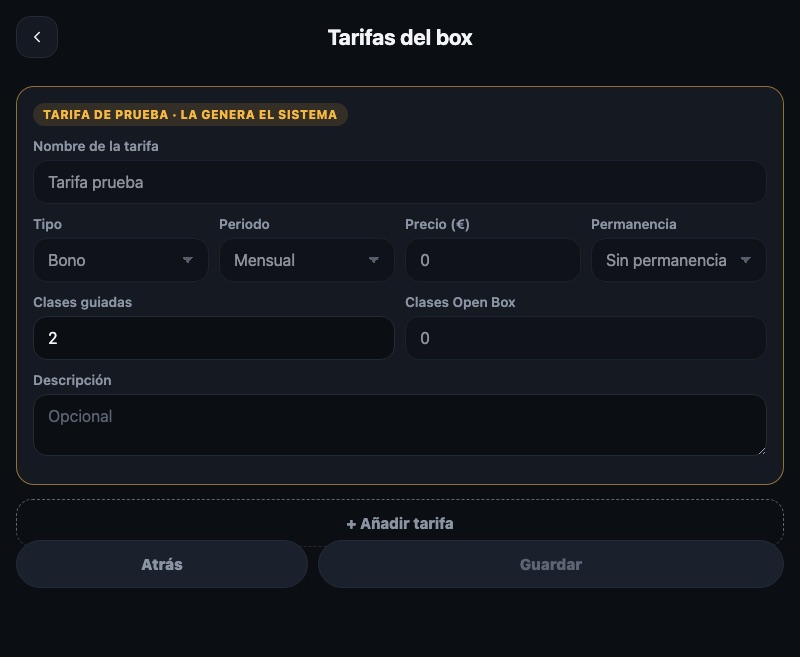
With "+ Add tariff" you create your own. Each card has these fields:
Tariff name
As members will see it: "Monthly fee", "2 days a week", "10-class pass".
Type
Unlimited: no class limit. Limited: a number of coached and Open Box classes per week or per month (both numbers must be greater than zero). Pass: a bundle of classes that gets used up.
Period
Monthly or yearly: how often the tariff is charged.
Price (€)
What is charged each period.
Commitment
No commitment, or 3 to 12 months. With a commitment, the member cannot leave before that time.
Coached classes and Open Box classes
The classes included in the tariff. Not filled in for unlimited tariffs.
Description
Optional. Text the member sees when choosing a tariff.
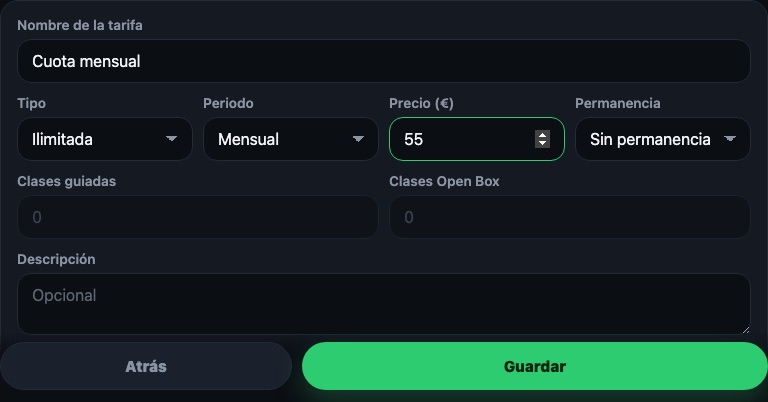
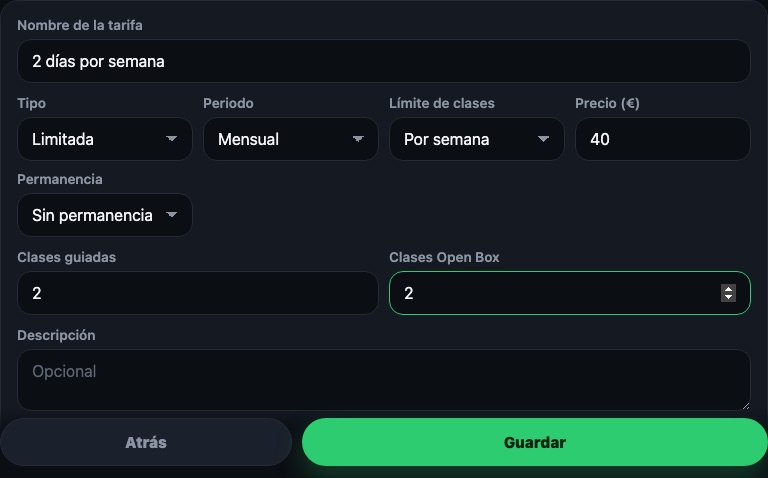
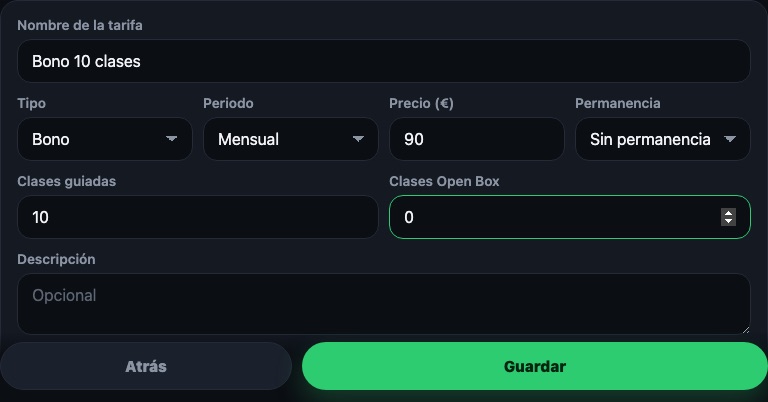
Press "Save" when you are done. The step shows as "Configured" as soon as a tariff is saved.
Step 4 · Payments
This step has its own screen inside the wizard, in four blocks. Only the first one is required; the POS, SEPA and certified invoicing are enabled with their switch and can be left for later from Box billing.
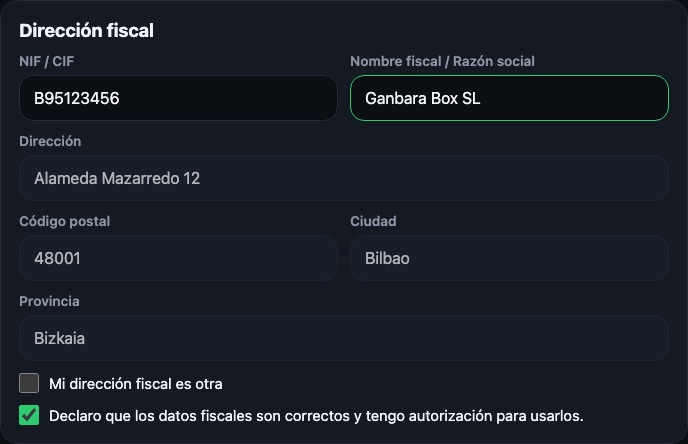
Fiscal address
Tax ID, fiscal name or company name (the box name is proposed) and the address. The address is prefilled with the box address; if the fiscal one is different, tick "My fiscal address is different" and type it. To continue you must tick the declaration that the details are correct.
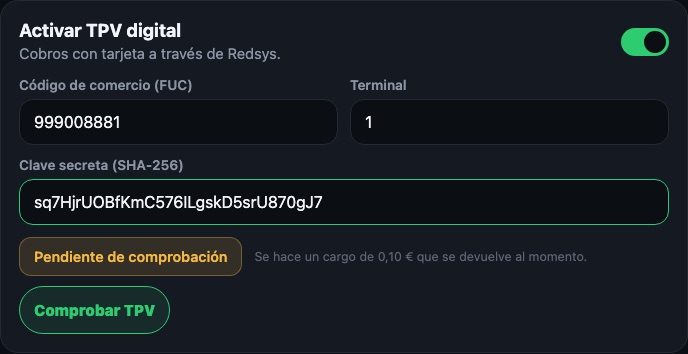
Enable digital POS
Card payments through Redsys. You need the merchant code (FUC), the terminal and the SHA-256 secret key your bank gave you. Then press "Check POS": a €0.10 charge is made and refunded immediately. While the POS is enabled but unchecked you cannot go to the next step.
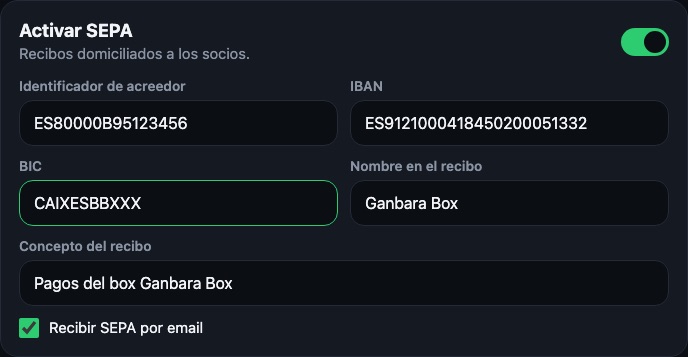
Enable SEPA
Direct debits to members. You need the creditor identifier your bank gave you, the IBAN and the BIC. The name on the receipt and the concept are prefilled with the box name and can be changed. "Receive SEPA by email" sends you each batch by email.
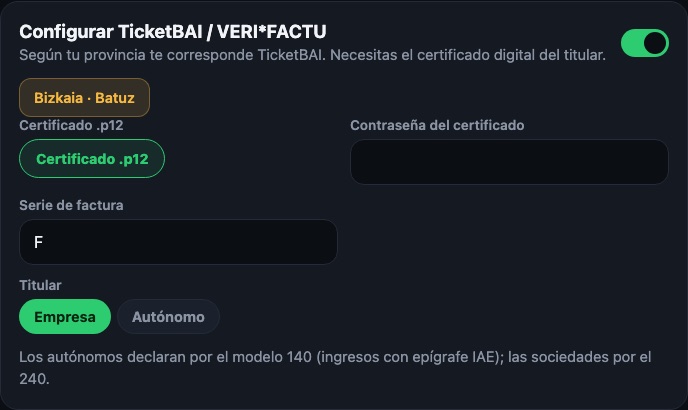
Configure TicketBAI / VERI*FACTU
This block appears only with the POS or SEPA enabled and shows the system that applies to your province (for example "Bizkaia · Batuz" or "Rest of Spain · VERI*FACTU"). You need the holder's digital certificate as a .p12 file with its password, and the invoice series ("F" by default).
In Bizkaia you also state whether the holder is a company or self-employed; the self-employed add their IAE heading and whether they apply the cash basis. You can leave this block disabled and set it up later from Box billing.
"Next" saves the whole step. It shows as "Configured" as soon as there are saved tax details or the POS or SEPA is enabled.
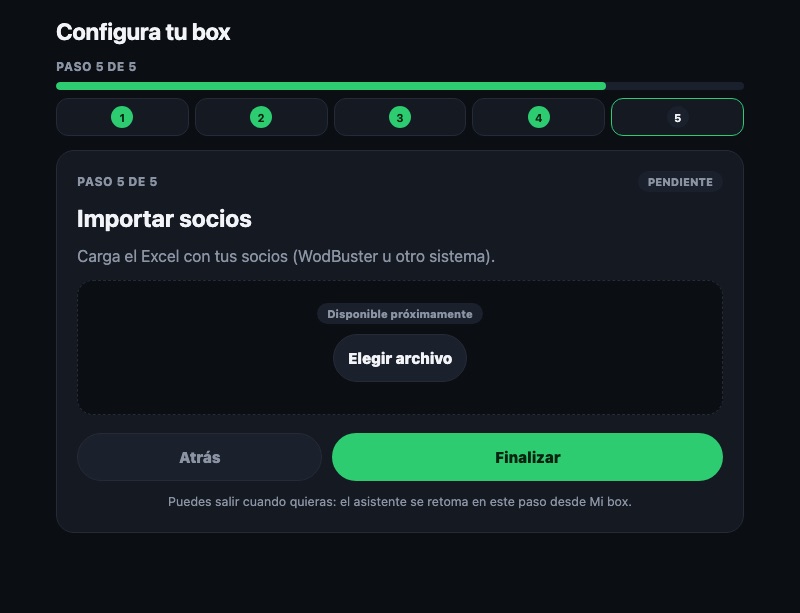
Step 5 · Import members
Importing from an Excel file (WodBuster or another system) will be available soon. Meanwhile, members join with the box code, which you see on the My box card and can pass on to them.
Press "Finish". The wizard ends and you return to My box with your box created.
When you are done
My box shows your box card with the logo, the city, the number of members and the code. From "Manage box" you change anything set up in the wizard and run the box day to day.